If you’re looking to manage your server with ease, Kloxo is a great option, as it is free and open-source web hosting control panel that allows you to manage your server and websites with a simple, user-friendly interface.
In this guide, we’ll walk you through the process of installing Kloxo 8 on RHEL 9 (RHEL-based distributions). Don’t worry, even if you’re new to Linux, this guide will be easy to follow and help you get Kloxo up and running quickly.
What is Kloxo?
Kloxo is a powerful web hosting control panel that allows you to manage your server, websites, email accounts, databases, and more. It’s a popular choice among server administrators because it’s easy to use and provides a lot of features without the complexity of other control panels.
Kloxo 8 is the latest version, and it’s designed to work with a variety of Linux distributions, including RHEL 9. It has a web-based interface that lets you manage all aspects of your server from a single dashboard.
Prerequisites
Before we begin, there are a few things you’ll need:
- You should have a clean, minimal installation of RHEL 9, Almalinux 9 or Rocky 9.
- You need to have root (administrator) access to your server.
- Since you’ll be downloading packages during the installation, ensure you have a stable internet connection.
- You don’t need to be an expert, but knowing how to use basic commands like cd, ls, dnf, and systemctl will be helpful.
Step 1: Install Required Dependencies
Before installing Kloxo, it’s a good idea to update your system to make sure all the packages are up-to-date, which confirms that you have the latest security patches and software versions.
sudo dnf update -y
Kloxo requires a few dependencies to be installed on your system, which includes web server software, databases, and other utilities that Kloxo needs to run smoothly.
sudo dnf install -y wget curl unzip
Step 2: Installing Kloxo Control Panel
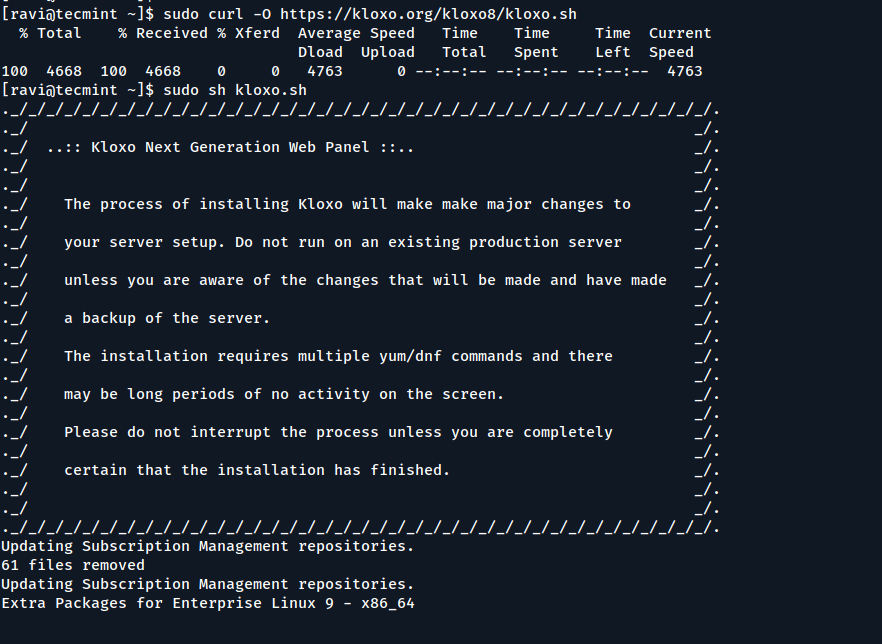
Now that your system is ready, it’s time to download and run the Kloxo installation script by using the following commands, which will automatically install all the necessary components, including web server software, databases, and other dependencies required for Kloxo to run.
sudo curl -O https://kloxo.org/kloxo8/kloxo.sh
sudo sh kloxo.sh

The installation process may take a few minutes, depending on your server’s speed and internet connection. Once the installation is complete, you’ll see a message saying that Kloxo has been successfully installed.

Step 3: Access the Kloxo Web Interface
After installing Kloxo, you can access the web-based control panel through your web browser by visiting the IP address of your server.
You can find the IP address of your server by running the following ip command:
ip a
Open your web browser and type the IP address of your server:
http://your-server-ip:7778
You should now see the Kloxo login page, use the default username and password for Kloxo are as follows:
Username: admin
Password: admin
Enter these credentials on the login page to access the Kloxo control panel.

Once logged in, you’ll be greeted by the Kloxo dashboard, where you can start managing your server and websites.

Step 4: Secure Your Kloxo Installation
For security reasons, it’s important to change the default password immediately after logging in.
To do this, follow these steps:
- Click on the Admin tab at the top of the page.
- Under the Admin Settings section, click on Change Password.
- Enter your new password and click Save.
Additionally, it’s a good idea to set up a firewall to allow only necessary traffic such as HTTP and HTTPS traffic.
sudo firewall-cmd --zone=public --add-service=http --permanent
sudo firewall-cmd --zone=public --add-service=https --permanent
sudo firewall-cmd --reload
Conclusion
Congratulations! You’ve successfully installed Kloxo on RHEL 9. You can now manage your server and websites with ease using the Kloxo control panel.
Remember to secure your server, back up your data regularly, and keep your system up-to-date to ensure smooth operation. Kloxo is a great tool for managing your server, and with this guide, you should be able to get started without any issues.
